How can a dentist make the office welcoming to all patients? #DDawareness2021
On a daily basis, dentists and other care providers aim to make their offices comfortable and welcoming to all patients. In many cases, that involves incorporating helpful information shared by the Americans with Disabilities Act. What better time than March, during Developmental Disabilities Awareness Month, for dental practices to consider the barriers that people with disabilities might sometimes face in connecting to their communities.
In this article, design expert Sucharita Ray will discuss five areas a dental team can review to ensure their offices are meeting all the needs.
Sucharita Ray, Design Manager at Benco Dental
At Benco Dental, Ray is a Design Manager of America’s most innovative dental design team, Benco Dental Design. Here she offers helpful suggestions to make all patients feel welcome.
Understand your patients’ needs
Each March, during Developmental Disabilities Awareness Month, the National Association of Councils on Developmental Disabilities (NACDD) raises awareness about the inclusion of people with developmental disabilities in all facets of community life.
According to CDC.gov, recent estimates in the U.S. show that about one in six children aged 3 through 17 years have one or more developmental disabilities. These occur among all racial, ethnic, and socioeconomic groups, and can include ADHD, autism spectrum disorder, cerebral palsy, hearing loss, intellectual disability, learning disability, vision impairment and other developmental delays.
As a starting point, every practice must comply with requirements put in place through the Americans with Disabilities Act. A licensed architect or registered interior designer will be familiar with these codes, for instance:
meeting requirements for doorways and restrooms, and providing a lower counter — between 30 and 34 inches in height – to make the practice accessible to a patient with a wheelchair,
ensuring that at least 25 percent of – but ideally all — operatories are wheelchair-accessible to make the practice more welcoming to everyone. An experienced dental practice designer will provide clearance around and between dental equipment to maintain wheelchair accessibility
>> Pro tips:
Invest in dental chairs with adjustable headrests that can be pivoted. These allow a doctor to see patients while allowing them to remain in their wheelchair.
Use a variety of seating in the reception area. Plus-size seating is helpful for patients who require additional room or are accompanied by an attendant. Seats with and without arms, and that offer a range of heights, provide diversity to suit individual needs.
Of utmost importance:
A dental team should make every patient feel welcome by creating a sense of belonging. Ray noted that accessibility should be incorporated as a common theme throughout the office. Providing special arrangements can make people feel more conscious of their disabilities and add to any existing stress of anxious patients.
Consider these 5 design areas to create a welcoming dental practice for all patients
1. Zoning
To create an intuitive and predictable flow of the space, clearly distinguish zones. Feature what will be expected. Create a reception area with a greeter’s desk, an accessible restroom, and then operatories. Avoid placing an unexpected area, like a sterilization center at the entrance of the clinical area.
If a patient is visually impaired, a straightforward flow such as central hallway with rooms on either side of it is important. Avoid a labyrinth effect or zigzag pattern. Minimal options when it comes to navigation are optimal not just for visually impaired, but for any patient with developmental disabilities. Avoid overstimulating patients.
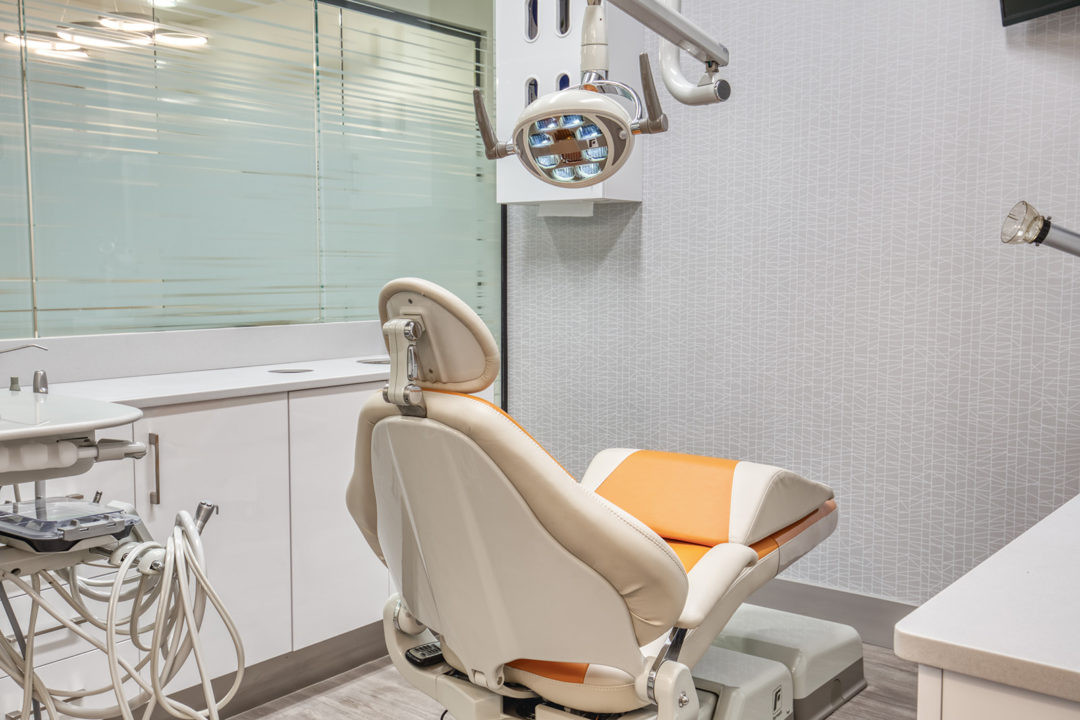
Use more saturated colors and pattern in operatories, but keep the patterns subtle and organic like the one at Cornerstone Dental Group, Harrisburg, North Carolina (shown).
2. Color
Creating a contrast of two colors can be helpful for the visually impaired. A judicious use color will help avoid overstimulation or under stimulation for anyone on the autism spectrum or with ADHD.
Use specific colors to distinguish specific functions. For instance, select one color for the waiting room, and different color for hallways, clinical areas, and staff areas to help with way finding. Little triggers can agitate a patient which might hinder a successful procedure.
Keep colors muted in public areas. For a patient with a developmental disorder, a visit to a public setting is a courageous move, so a sense of calm is welcoming. Choose colors seen in nature that are familiar to all. Colors from the outside world offer a soothing environment, for instance, paler blues, sea colors, sky blues, any variety of greens. However, not smoky blues and grays, which can be related to thunderstorms. Avoid red whenever possible.
Select cheerful colors, such as light or pale yellow and orange, to assist visually impaired patients. Avoid bright colors with shine or glare, such as saturated yellows, in single user operatories.
Limit saturated colors to accents in artwork or furniture upholstery; complement with whites, greys and beiges to ground any saturated colors.
Select subtle or organic patterns for wall covering such as wood bark, trees or flowers. Avoid busy patterns, for instance if you’re using geometric patterns, keep them subtle.
Never use heavily textured items, which can trigger a danger warning. Plan rounded edges on furniture, nothing sharp.
Choose flooring with tones that can be seen in nature, such as wood or stone tones. One creative option, a type of LVT plank, looks like a meadow. As long as colors and patterns might be seen in the outside world, patients will feel comfortable.
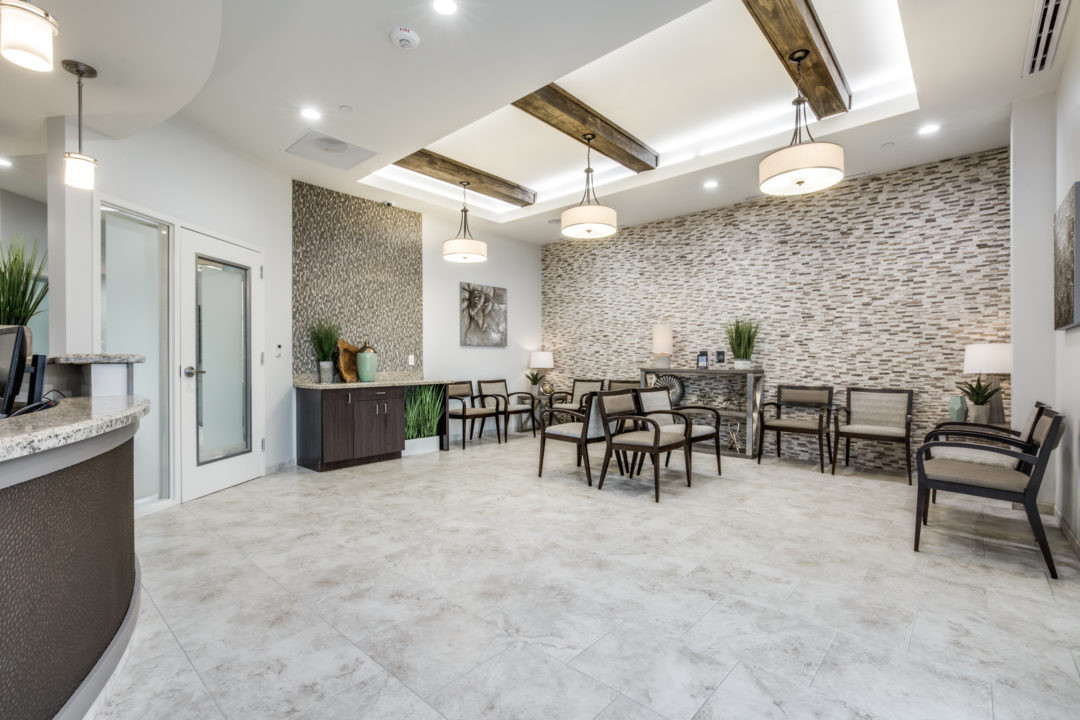
Layered lighting, muted colors and natural textures and materials are ideal for the reception area, for instance those at Lukin Family Dentistry, Sugar Land, Texas (shown).
3. Lighting
Standard fluorescent lights have a tendency to flicker and can trigger distress. Though not pleasant for any patient, they can be especially jarring for patients with disabilities.
Instead, a layering of lights is recommended. This includes natural sunlight, along with dimmable LED lights, can lights, or troffers, and complemented with task lighting, such as dental lights in the operatories or vanity lights in the restroom. The goal: replicate the outside ambience that occurs during the most mellow sunlight of the day. For instance, a morning or late afternoon light rather than the harsh light of noontime.
Other options to introduce soft lighting include cove lights in the reception areas, or wall washers in the hallways.
4. Acoustics
Whenever possible, take walls up to the deck, or the underside of the roof, and make sure they are insulated properly.
Ensure LVT or resilient sheets used for flooring in the treatment rooms includes cushioned backing to soften the sound; otherwise, the hard surface can echo and reverberate.
Invest in acoustic tile for ceilings that offers a high Noise Reduction Coefficient (NRC) to either absorb the sound or reduce transmission.
Add acoustical material anywhere you select other ceiling materials, such as drywall. Options such as baffles or acoustical clouds absorb noise in intervals, versus creating a chamber of bouncing reverberations.
Consider newer offerings, such as acoustical wall panels that are laser cut with organic patterns. These can be added anywhere excess noise is expected. Acoustical shades can be added to light fixtures. For instance, if pendant light is in use over the reception desk, a noisier area, shades made of acoustical material can be added.
A weighted chair in the reception can eliminate safety risks. The Palisade chair from Nemschoff offers an example.
5. Safety
Eliminate any sharp edges and conceal wiring. If you have patients who might become agitated it’s best to minimize any items patients might use to self harm.
Invest in weightier furniture that cannot be lifted or thrown. Bolting furniture is an option, but eliminates flexibility, and does not present a visually relaxing appearance. Furniture that is bolted automatically connotes danger.
Establish clear demarcations between wall and floor. For instance, if the floor and wall are similar in color, the wall base needs to stand out.
Create contrast between walls and doors, and in restrooms with guardrails in a different shade than walls. For example, with white walls, consider chrome guardrails.
Select different colors for countertop and cabinetry. For instance, for the reception desk, add different colors for face and countertop. Someone with a visual impairment only sees the light that’s bouncing off the surfaces.
Minimize the use of mirrors. Although acceptable in the restroom or brushing station, do not add mirrors as décor in hallways or checkout. Mirrors can create glare, especially if sunlight is involved. Glare can negatively affect patients with vision impairments or sensory disorders.
Ensure signage includes Braille and lettering that stands out.
Select tightly tufted carpet. Avoid carpet a high pile or loosely tufted carpet that will be difficult to navigate for any patient who has issues walking, or a patient with a wheelchair, cane, or leg brace.